Building an R/C Car Kit: Testing and Installing Electronics

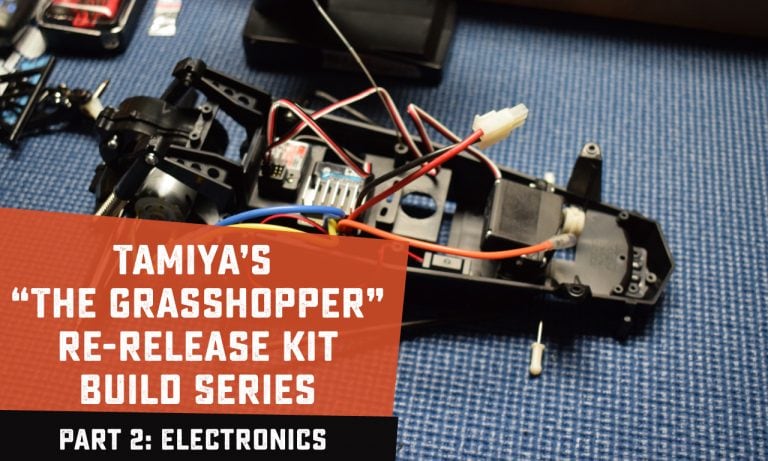
Part two of the Tamiya “The Grasshopper” build series.
The build continues! My Tamiya “The Grasshopper” 1/10 buggy is slowly taking shape after our first build segment and now it’s time to dive into the electronics.
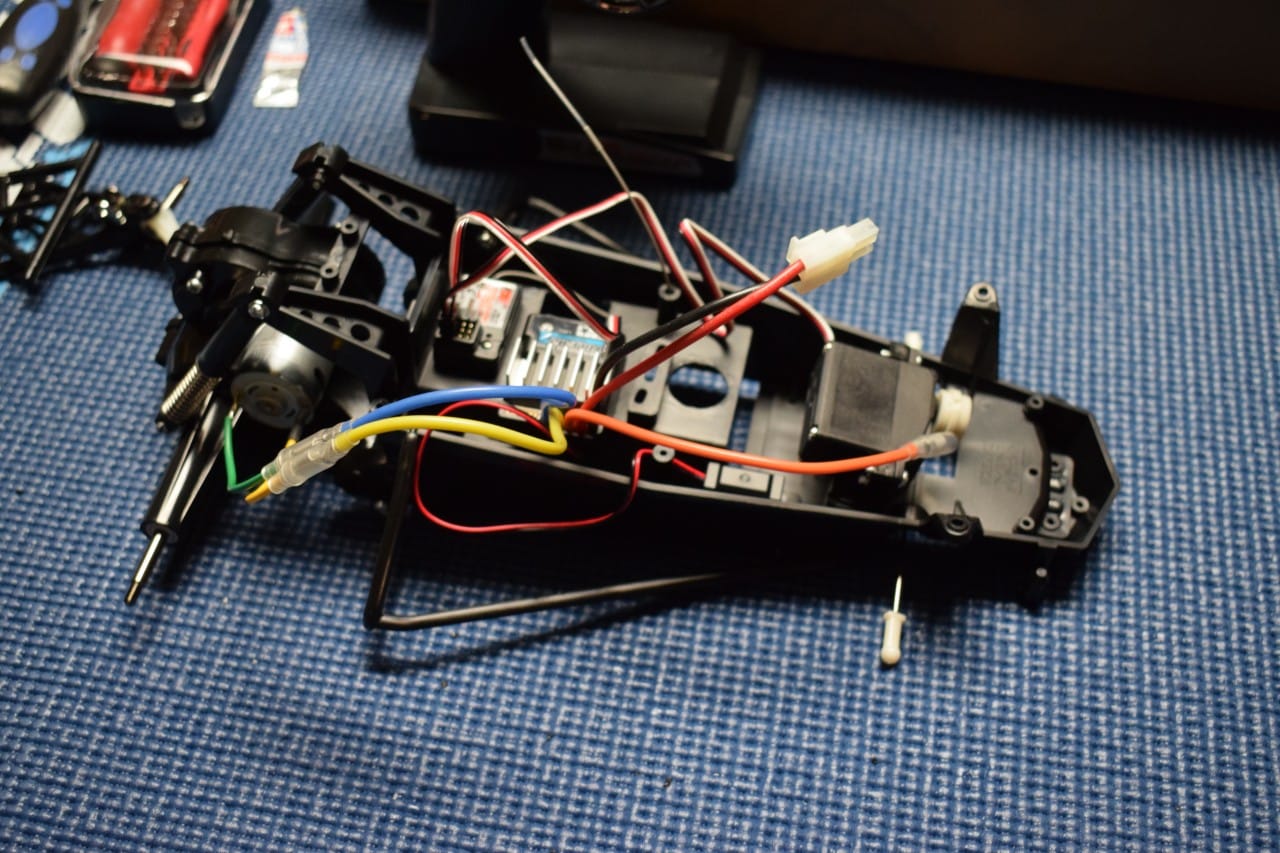
No matter the vehicle type, the electronics system on any radio-controlled model is the heartbeat. For step two of this build project, I’m connecting the electronics together and powering them up for the first time. After everything checks out, they’ll be installed into the chassis tub and the build process will continue.
Tamiya “The Grasshopper” Electronic Components
For this specific build, I’ve had to supply most of the electronic components. The only items that were included were the electronic speed control (ESC) and the motor. During the electronics test, everything except for the motor will be connected and powered up.
The main point of this test is to ensure overall functionality of the electronics system and to perform any initial adjustments to the steering servo and servo horn placement. This is a quick process that could easily be skipped, however I’d rather replace an item when it’s laying on the workbench rather than after it’s been installed.
- Tamiya TBLE-02S ESC (included)
- 380-size brushedd motor (included)
- Fly Sky GT3B Transmitter ($39.99)
- Fly Sky 3-channel Receiver ($9.50)
- Futaba S3010 Steering Servo ($24.95)
- Duratrax Onyx 7.2V, 5000mAh NiMh battery ($35.99)
Building the Tamiya “The Grasshopper” R/C Buggy Kit: Part 2
What’s Next?
As the Tamiya build project rolls on, the next step will find us with a model that more-closely resembles the finished product. The front suspension will have been built and installed, and I’ll be at a point where tires and wheels can be assembled and mounted.
For more information on this build series, view the video playlist on the RC Newb YouTube channel.


