R/C Overhaul - Incision Driveshaft Upgrade for the Axial SCX10/SCX10 II

With the exterior of my SCX10 overhaul locked-in, I’ve turned my attention to the chassis. To be honest, the stock SCX10 platform has been a solid performer for me over the years, and I hadn’t given much thought to making many internal updates. That said, there are instances when the trail can get too gnarly for a stock rig setup. To help combat that, AMain Hobbies set me up with a selection of chassis parts to help things rolling smoothly.
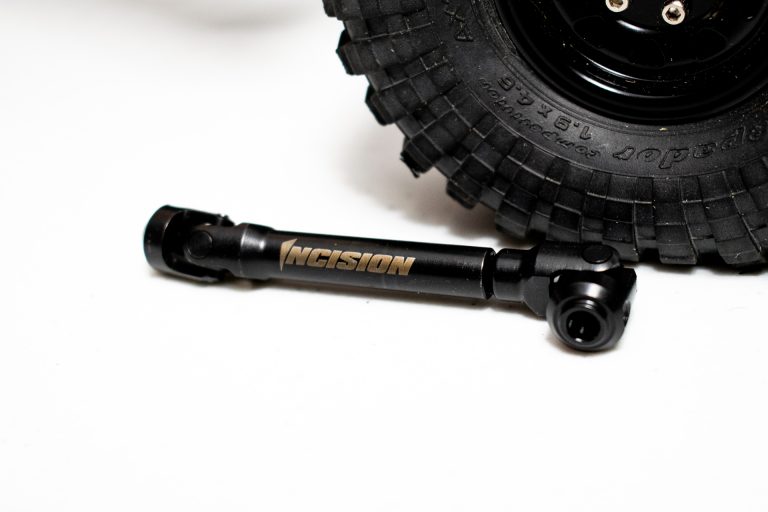
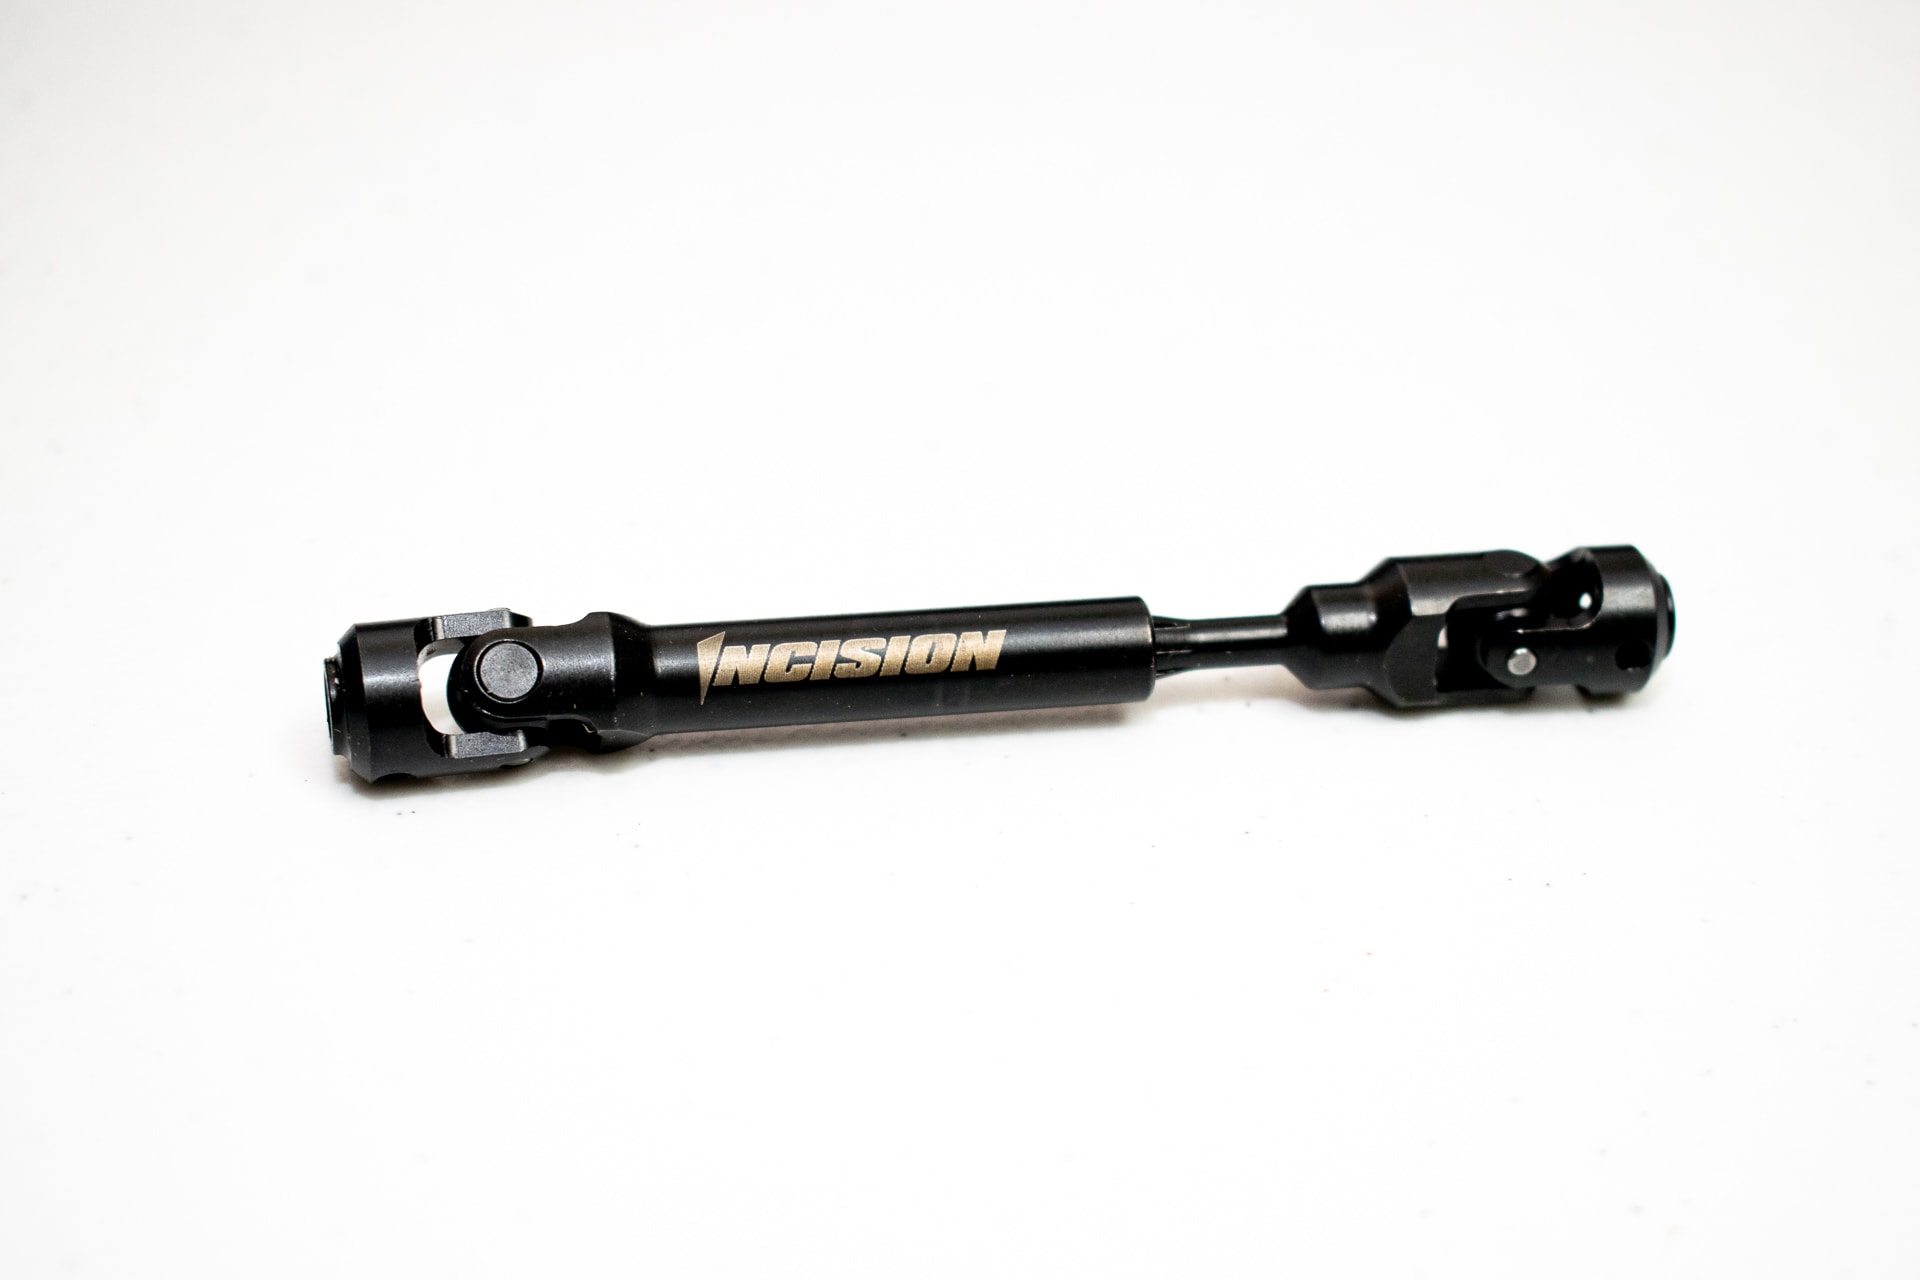
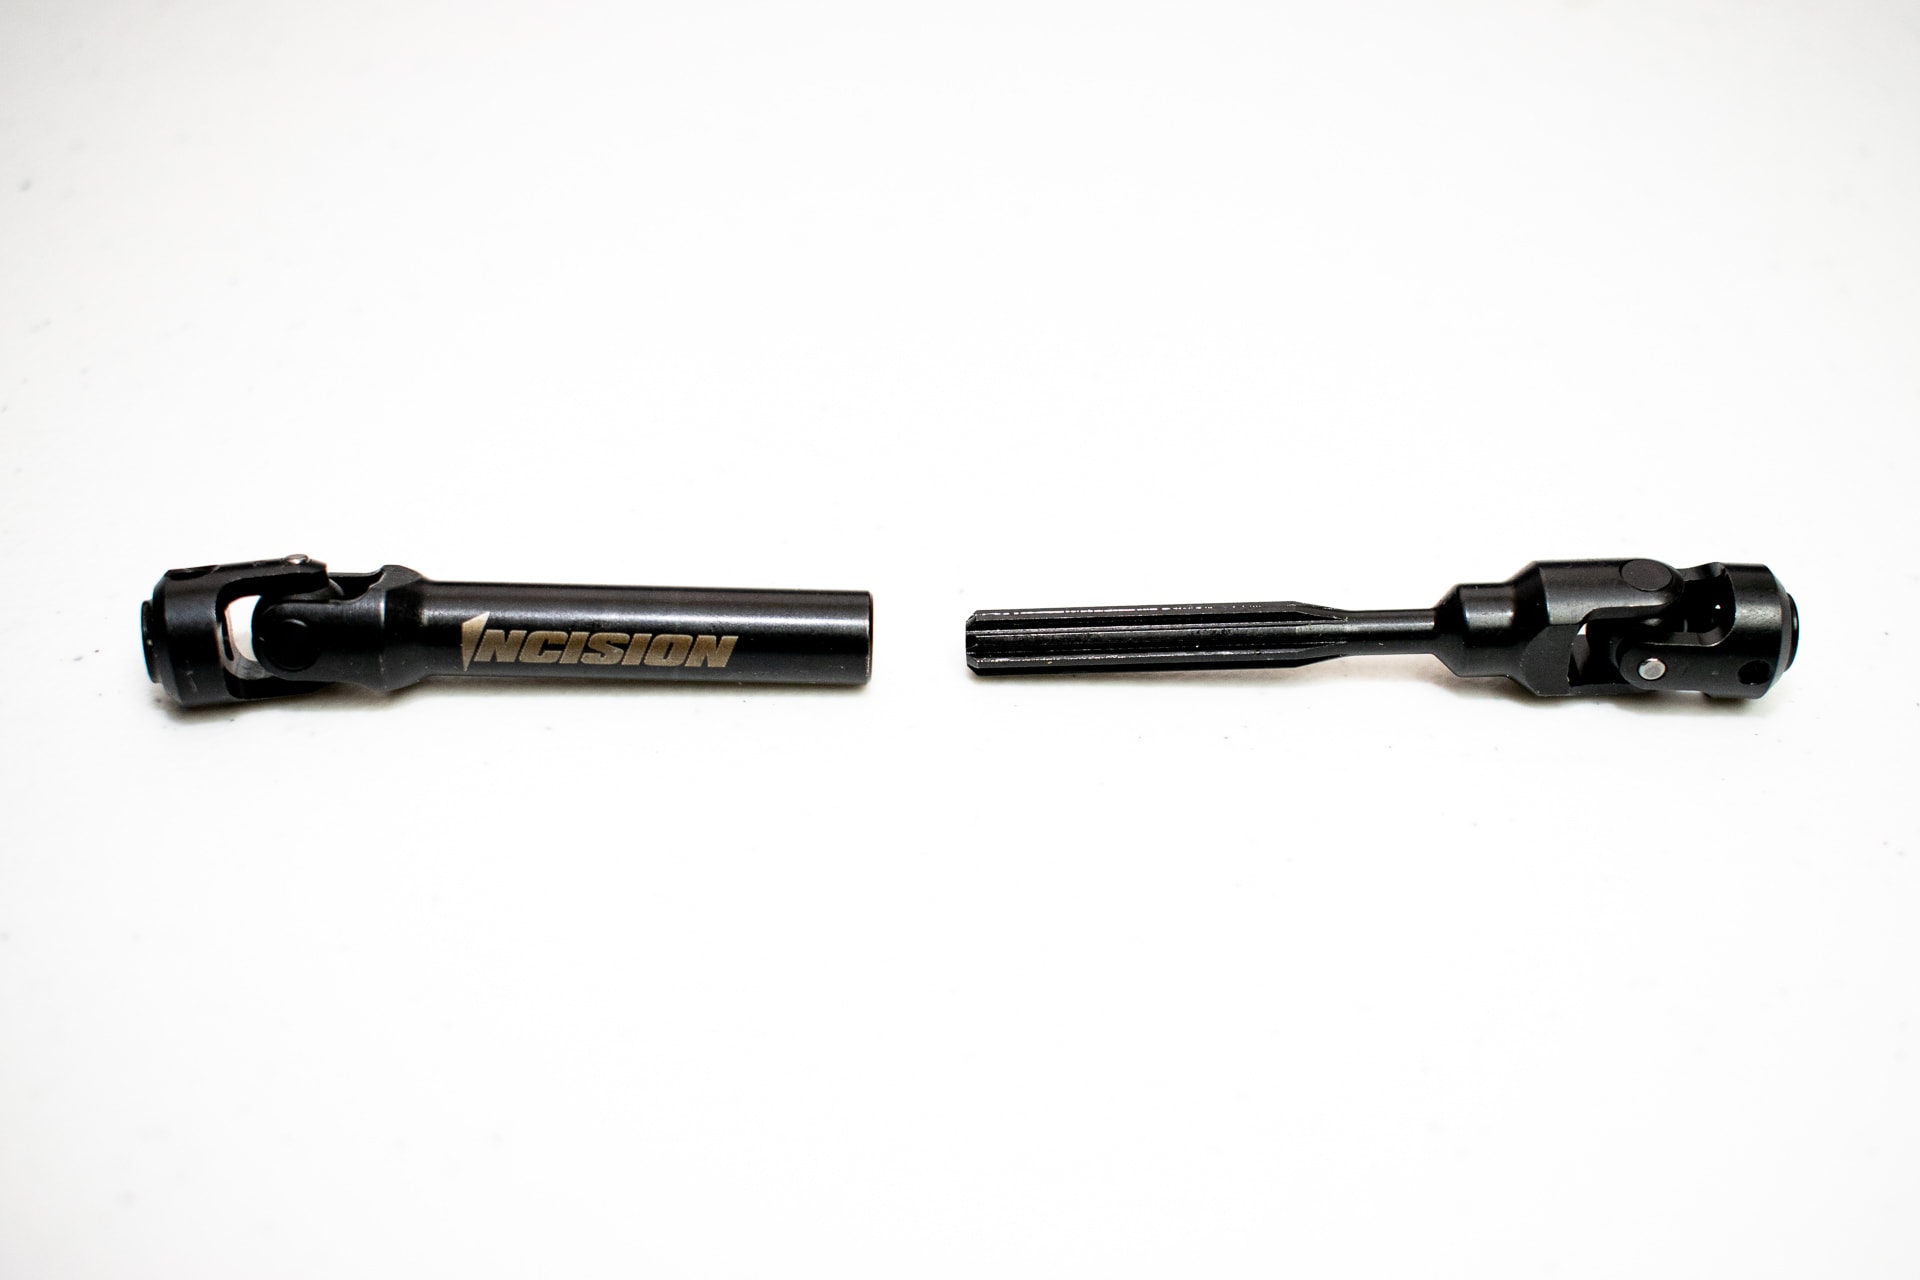
The first item on this internal upgrade list was a set of heavy-duty Incision driveshafts. An easy-to-install item, these driveshafts not only add durability but also a bit of weight to the underside of the chassis. If you encounter tricky trails or a rough and rocky obstacle, there’s less chance of the splines becoming stripped or broken if your rig becomes bound up.

What you’ll need to complete the installation:
- 1 Set of Incision driveshafts - $59.99
- 1 1.5mm hex driver/Allen wrench
- 1 2.0mm hex driver/Allen wrench
Installing Incision’s Metal Driveshafts for the Axial SCX10/SCX10 II
https://www.youtube.com/watch?v=UxIUWoJ6ABs
As you can see from the video, the installation process is quite easy. After removing the two set screws from each driveshaft, you can quickly separate the stock shafts and remove them from the driveline. The SCX10 uses a 1.5mm set screw for installation/removal.
With the stock driveshafts removed, simply line up the mounting holes for the Incision driveshafts and insert the supplied set screws. I’ve found that separating the driveshaft makes it easier to install. Please note; the Incision driveshafts require a slightly-larger, 2.0mm driver.

And...that’s it. This was one of the most straightforward parts installs that I’ve performed and it will be nice having added durability during my future trail expeditions.
